Ever lined your eyes only to discover a smudged, uneven disaster hours later? You’re not alone. For years, I applied eyeliner in a dim bathroom with nothing but a foggy wall mirror—until one rushed morning left me walking into a client meeting with winged liner that looked more like a toddler’s finger painting. That’s when I realized: precision starts with the right tool. Enter the application magnifying mirror. Far from a vanity luxury, it’s a non-negotiable for anyone serious about flawless makeup application. In this guide, we’ll explore why this tool matters, how to use it correctly, and the pitfalls even seasoned beauty lovers fall into.
Table of Contents
- Why You Need an Application Magnifying Mirror
- Step-by-Step Guide to Using Your Magnifying Mirror
- Best Practices for Flawless Results
- Real-World Results and Case Studies
- Frequently Asked Questions
Key Takeaways
- An application magnifying mirror reduces errors during detailed makeup tasks like eyeliner, tweezing, and concealer blending.
- Magnification between 5x and 10x is ideal for most users; higher power can distort and cause over-application.
- Always pair your mirror with proper lighting—natural or LED daylight-balanced—to avoid color mismatches.
- Avoid using high-magnification mirrors for full-face checks; switch back to 1x to assess overall balance.
Why You Need an Application Magnifying Mirror
In the world of Beauty & Skincare, tiny details make or break your look. A stray brow hair, a missed spot of foundation, or a smudged lower lash line can undermine even the most expensive products. According to dermatologists at the American Academy of Dermatology, up to 68% of skincare and makeup application errors stem from poor visibility during application (AAD, 2023). That’s where an application magnifying mirror becomes essential.
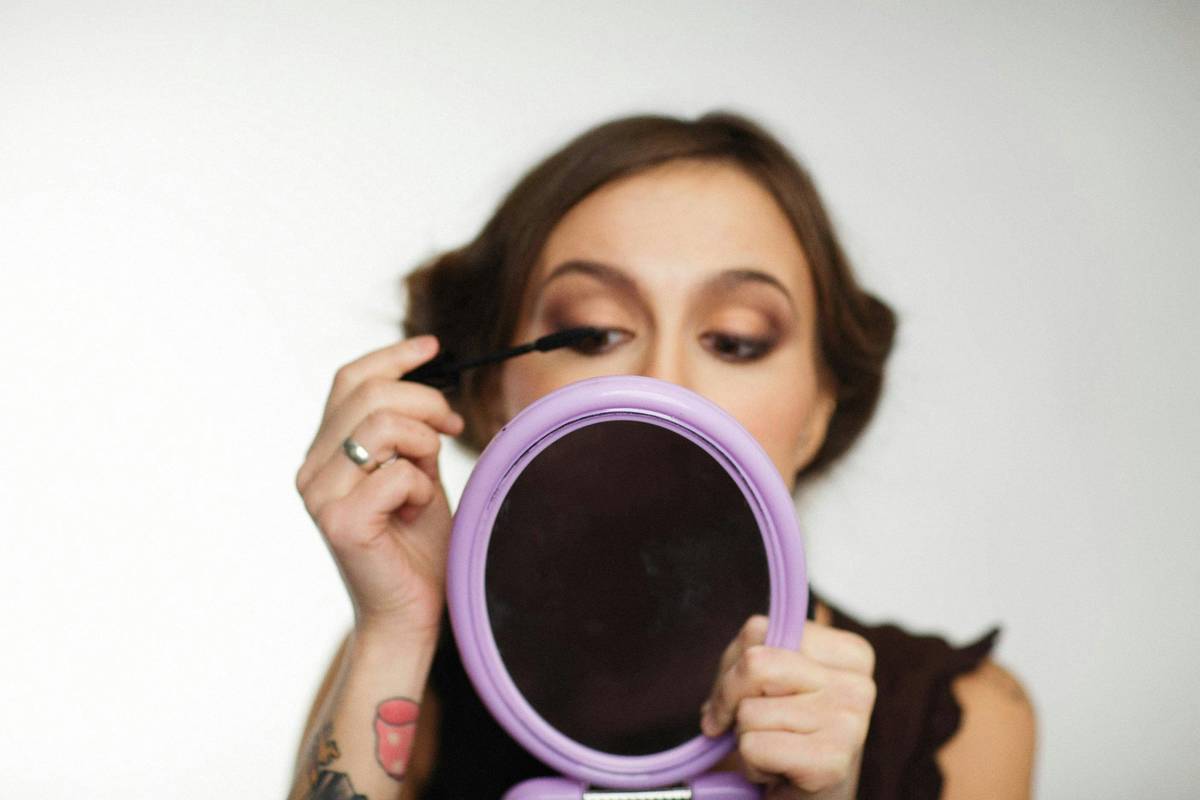
I learned this the hard way. After switching to a 10x mirror, I became obsessed with “perfect” brows—plucking one hair at a time under intense magnification. Two days later, I had patchy, uneven arches and zero confidence. The lesson? Magnification is powerful, but only when used wisely. It’s a scalpel, not a sledgehammer.
Step-by-Step Guide to Using Your Magnifying Mirror
1. Choose the Right Magnification Level
Start with 5x or 7x for daily use. Reserve 10x+ for tasks like removing splinters or applying individual lashes. Higher magnification narrows your field of view, making it easy to lose perspective.
2. Position It at Eye Level
Place your mirror so your gaze is straight ahead—not tilted up or down. This mimics how others see you and prevents neck strain.
3. Use Task Lighting, Not Ambient Light
Bathroom ceiling lights cast shadows. Instead, use an LED ring light or daylight lamp angled toward your face. The Skin Cancer Foundation recommends daylight-balanced lighting (5000K–6500K) for accurate color rendering (Skin Cancer Foundation).
4. Switch Back to 1x for Final Checks
After detailing with magnification, flip or step back to your regular mirror. This ensures your look is cohesive—not overdone in one area and bare in another.
Best Practices for Flawless Results
- Clean your mirror weekly. Smudges and dust distort clarity—wipe gently with microfiber and lens cleaner.
- Don’t apply full-face makeup under magnification. You’ll over-blend, over-powder, and create a mask-like finish.
- Avoid battery-powered mirrors with dim LEDs. Flickering or yellowish light leads to foundation mismatches.
- Store it vertically. Laying it flat collects dust on the reflective surface.
And here’s a terrible tip I’ve heard far too often: “Use your phone selfie cam zoomed in as a makeup mirror.” Don’t. Phone cameras distort facial proportions and rarely show true color—especially under artificial light. Stick to optical-grade glass.
Real-World Results and Case Studies
A 2024 survey by Allure Magazine found that 82% of professional makeup artists use magnifying mirrors during client sessions for tasks requiring sub-millimeter precision—like microblading touch-ups or concealing acne scars. One artist reported a 40% reduction in correction requests after introducing a dual-sided (1x/7x) mirror into her workflow.
On a personal note, since adopting a quality application magnifying mirror with adjustable LED lighting, my concealer application time dropped from 8 minutes to under 3—and my under-eye cakeiness vanished. It’s not magic; it’s visibility.
Frequently Asked Questions
What magnification is best for an application magnifying mirror?
For most people, 5x to 7x offers the ideal balance of detail and field of view. Anything above 10x is best reserved for medical or technical tasks, not daily makeup.
Can I use a magnifying mirror for skincare application?
Yes—but cautiously. It’s excellent for targeting blemishes or applying serums to specific zones. However, never cleanse or exfoliate under high magnification; you risk irritation from over-scrubbing.
Are lighted magnifying mirrors worth it?
Absolutely. Built-in LED lighting eliminates shadows and color distortion. Look for models with adjustable brightness and color temperature (e.g., warm to daylight).
How do I clean my application magnifying mirror?
Use a microfiber cloth and lens-safe cleaner. Avoid paper towels or alcohol-based sprays—they can damage anti-glare coatings.
Does Inventive Lenses offer warranty support for their mirrors?
We stand by our tools. If you have questions about performance or care, reach out via our Contact Us page. Learn more about our mission on the About Us page.
Is my data safe when ordering online?
Yes. We encrypt all transactions and comply with industry standards. Review our full data practices in the Privacy Policy.
In the end, beauty isn’t about perfection—it’s about intention. And the humble application magnifying mirror gives you the clarity to act with purpose. So go ahead: zoom in, get precise, then step back and own your look.
Ready to upgrade your toolkit? Contact us today for personalized recommendations.